Stage 9: Kinetic KillWall + coin-machine polish
Finish Stage 8. Your tycoon has a tuned Dropper, Conveyor, Collector, and clear machine sign.
a kinetic KillWall hallway, the Stage 10 checkpoint, and visual polish for the coin machine
how to make the coin loop readable with labels, color, placement, and feedback
a coin machine that players can understand at a glance before the final publish stage
60-second demo:
- Stand near the Start Platform and point to the full coin path: Dropper -> Conveyor -> Collector.
- Point to each upgrade pad and explain what it changes.
- Watch one coin drop, move, collect, and pay.
- Explain: "If a new player can understand the machine by looking at it, the design is working."
The big idea
Stage 9 is the last polish pass before publishing. Today you make the coin machine readable.
Readable tycoon design means a player can answer three questions without asking the teacher:
- Where do coins come from?
- Where do coins go?
- What can I upgrade?
- readability
- how easily a player understands what parts do by looking at them
- feedback
- a visual or audio response that confirms something happened
- label
- text in the world that names a part or explains a simple rule
Build it
Step 1 — Build the kinetic KillWall hallway
A boxed hallway with a sliding wall moving end-to-end. Same as base obby Stage 9.
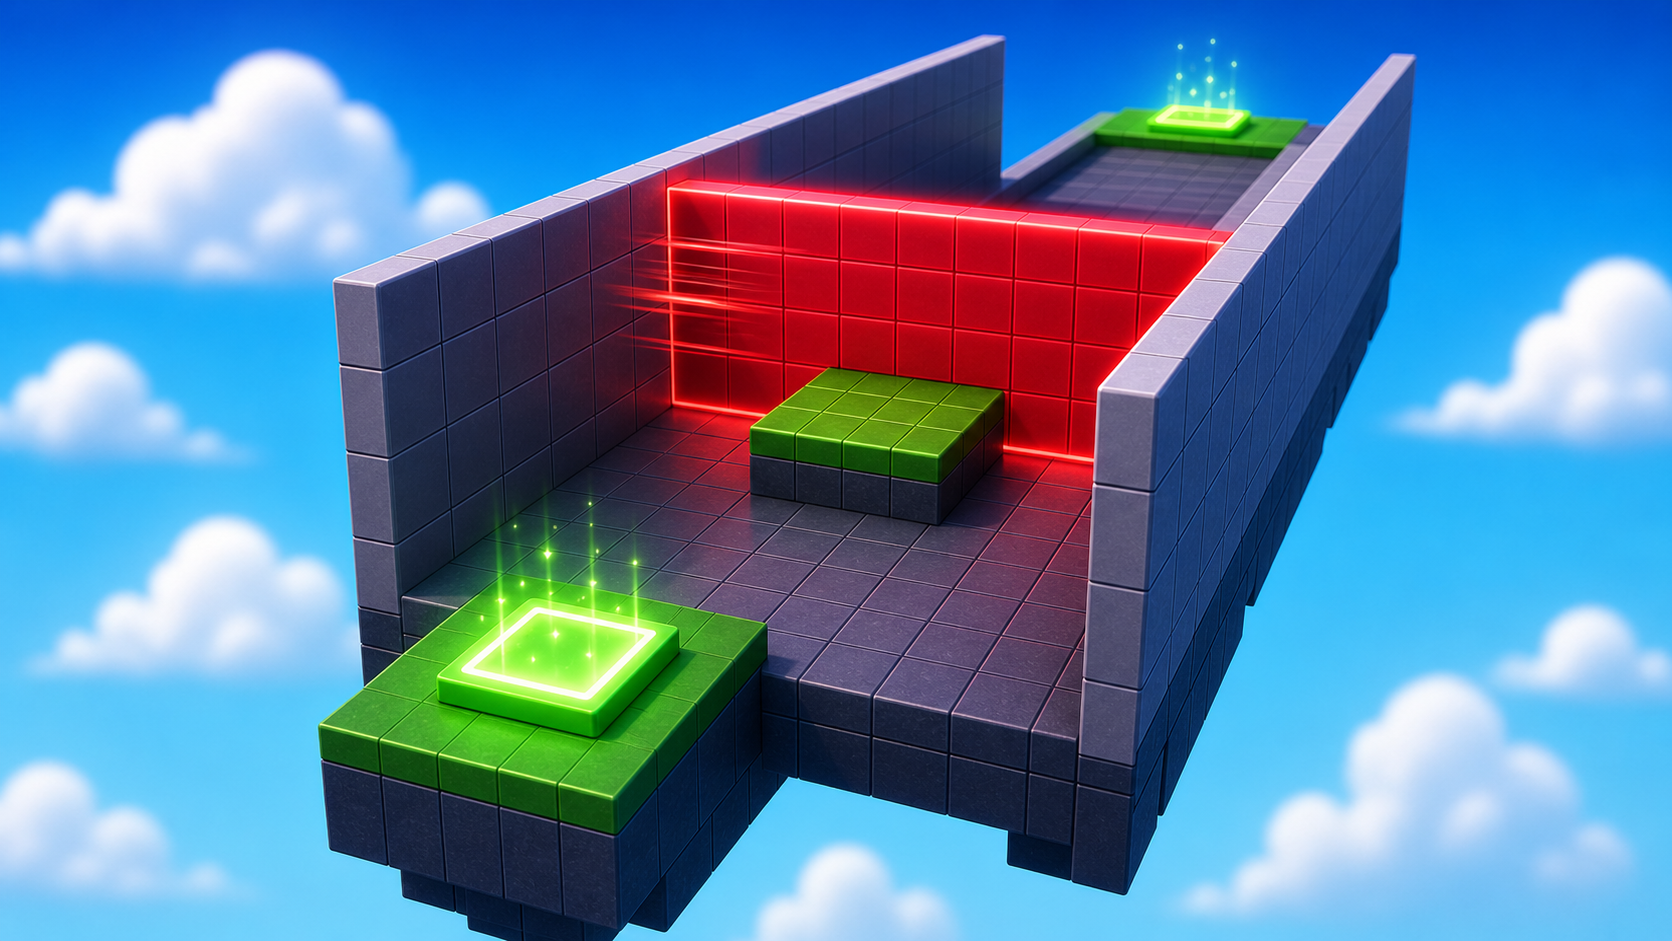
Build this partHallFloor
BlockOpen recipe
HallFloor
Block- Size
- 6 × 1 × 30
- Color
- Dark stone grey
- Material
- Concrete
- Anchored
- ✓ Yes
- Place
- In front of the Stage 9 magenta pad, stretching forward 30 studs
Build this partHallWall_Left
BlockOpen recipe
HallWall_Left
Block- Size
- 1 × 8 × 30
- Color
- Brick yellow
- Material
- Brick
- Anchored
- ✓ Yes
- Place
- Along the left edge of HallFloor
Build this partHallWall_Right
BlockOpen recipe
HallWall_Right
Block- Size
- 1 × 8 × 30
- Color
- Brick yellow
- Material
- Brick
- Anchored
- ✓ Yes
- Place
- Along the right edge of HallFloor
Build this partSlidingWall
BlockOpen recipe
SlidingWall
Block- Size
- 5.5 × 7 × 1
- Color
- Really red
- Material
- Neon
- Anchored
- ✓ Yes
- Place
- Inside the hallway at the FAR end (away from the magenta pad)
Right-click SlidingWall -> Insert Object -> Script. Open the editor, delete the placeholder line, and type:
local wall = script.Parent
local floor = workspace:WaitForChild("HallFloor")

local speed = 0.3
local hallLength = floor.Size.Z
local startZ = wall.Position.Z
local endZ = startZ - hallLength + wall.Size.Z

wall.Touched:Connect(function(otherPart)
  local character = otherPart.Parent
  local humanoid = character:FindFirstChildOfClass("Humanoid")
  if humanoid then humanoid.Health = 0 end
end)

while true do
  for z = startZ, endZ, -speed do
    wall.Position = Vector3.new(wall.Position.X, wall.Position.Y, z)
    task.wait(0.02)
  end
  for z = endZ, startZ, speed do
    wall.Position = Vector3.new(wall.Position.X, wall.Position.Y, z)
    task.wait(0.02)
  end
end
Step 2 — Wire the Stage 10 checkpoint
Build this partSpawnLocation (Stage 10 — past the sliding wall)
BlockOpen recipe
SpawnLocation (Stage 10 — past the sliding wall)
Block- Size
- 6 × 1 × 6
- Color
- Bright purple
- Material
- Plastic
- Anchored
- ✓ Yes
- Place
- At the end of HallFloor (past the SlidingWall's range)
Also: check AllowTeamChangeOnTouch. Uncheck Neutral. Set TeamColor to Bright purple.
Tag this SpawnLocation with StageNumber = 10.
In Teams, insert a new Team named Stage 10. Set its TeamColor to Bright purple. Uncheck AutoAssignable.
Step 3 — Add machine labels
Add three small upright signs near the coin machine:
Build this partDropperLabel
BlockOpen recipe
DropperLabel
Block- Size
- 5 × 2 × 0.4
- Color
- White
- Material
- SmoothPlastic
- Anchored
- ✓ Yes
- Place
- Behind the Dropper
Add a SurfaceGui + TextLabel with text: DROPPER - makes coins.
Build this partConveyorLabel
BlockOpen recipe
ConveyorLabel
Block- Size
- 5 × 2 × 0.4
- Color
- White
- Material
- SmoothPlastic
- Anchored
- ✓ Yes
- Place
- Beside the Conveyor
Add a SurfaceGui + TextLabel with text: CONVEYOR - moves coins.
Build this partCollectorLabel
BlockOpen recipe
CollectorLabel
Block- Size
- 5 × 2 × 0.4
- Color
- White
- Material
- SmoothPlastic
- Anchored
- ✓ Yes
- Place
- Beside the Collector
Add a SurfaceGui + TextLabel with text: COLLECTOR - pays coins.
Step 4 — Add upgrade labels
Add labels near the upgrade pads:
DropperUpgrade:Upgrade Dropper - better coinsCollectorUpgrade:Upgrade Collector - bonus payout
Keep the labels short. A player should be able to read them while moving.
Step 5 — Add collection feedback
Inside the Collector Touched handler, add a print first:
print("Collected coin worth", value + getCollectorBonus())
Then add a visible flash by changing the Collector color briefly:
local originalColor = collector.Color
collector.Color = Color3.fromRGB(255, 255, 255)
task.wait(0.1)
collector.Color = originalColor
Place the flash right after awardCoins(...) and before the coin is destroyed. Press Play and watch one coin reach the Collector. The Collector should flash white when it pays.
Understand it
Polish is not decoration. In this stage, polish teaches the player how the system works.
Labels explain the coin path. Color separates machine parts from obby parts. The Collector flash confirms payout. Together, they make the tycoon understandable without adding any new UI system.
How the Collector flash confirms payout
The payout happens first, then the Collector flashes. The visual feedback confirms the code action.
awardCoins(player, value + getCollectorBonus())

local originalColor = collector.Color
collector.Color = Color3.fromRGB(255, 255, 255)
task.wait(0.1)
collector.Color = originalColor

otherPart:Destroy()
Line 1Pay first.
The important game action happens before the visual effect.
Lines 3–6Flash feedback.
A fast color change tells the player the Collector did something.
Line 8Then clean up.
Destroy the collected coin after payout and feedback.
Try this
Try this
Three short experiments. Predict before you run, then test your guess.
If the Collector flashes for 1 full second instead of 0.1 seconds, will the feedback feel better or distracting? Test it.
Hide the labels and ask a classmate what the machine does. Show the labels and ask again. What changed?
Stage 10 publishes the game. What will a new player understand in the first 10 seconds because of today's labels?
Test your stage
- Walk the KillWall hallway. Reach the purple Stage 10 pad. Counter increases by 10.
- The coin machine clearly shows Dropper -> Conveyor -> Collector.
-
DropperUpgradeandCollectorUpgradelabels explain what each pad changes. - Collector flashes when a coin pays.
- DropperUpgrade and CollectorUpgrade still work after polish.
- Design check. A new player can understand the coin machine without a teacher explanation.
If it breaks
- Collector flashes but coins do not pay. Make sure
awardCoins(...)still runs before the flash. - Collector color stays white. Store
originalColorbefore changing the color, and set it back aftertask.wait(0.1). - Labels face the wrong way. Rotate the sign parts or SurfaceGui face so the player can read them from the Start Platform.
- Text is too small. Turn on TextScaled for each TextLabel.
Keep this grounded in the physical Roblox world: labels, placement, color, and feedback. That is enough polish for this age range and camp timeline.
- 45 minutes. KillWall hallway 15. Stage 10 checkpoint 5. Labels 15. Collector feedback + test 10.
- Keep the polish physical and readable: labels, arrows, color, and collector feedback.