Stage 9: Kinetic KillWall
Finish Stage 8: Spinning KillBricks first. You have a Pink Stage 9 checkpoint past the spinner, and you understand CFrame and Heartbeat.
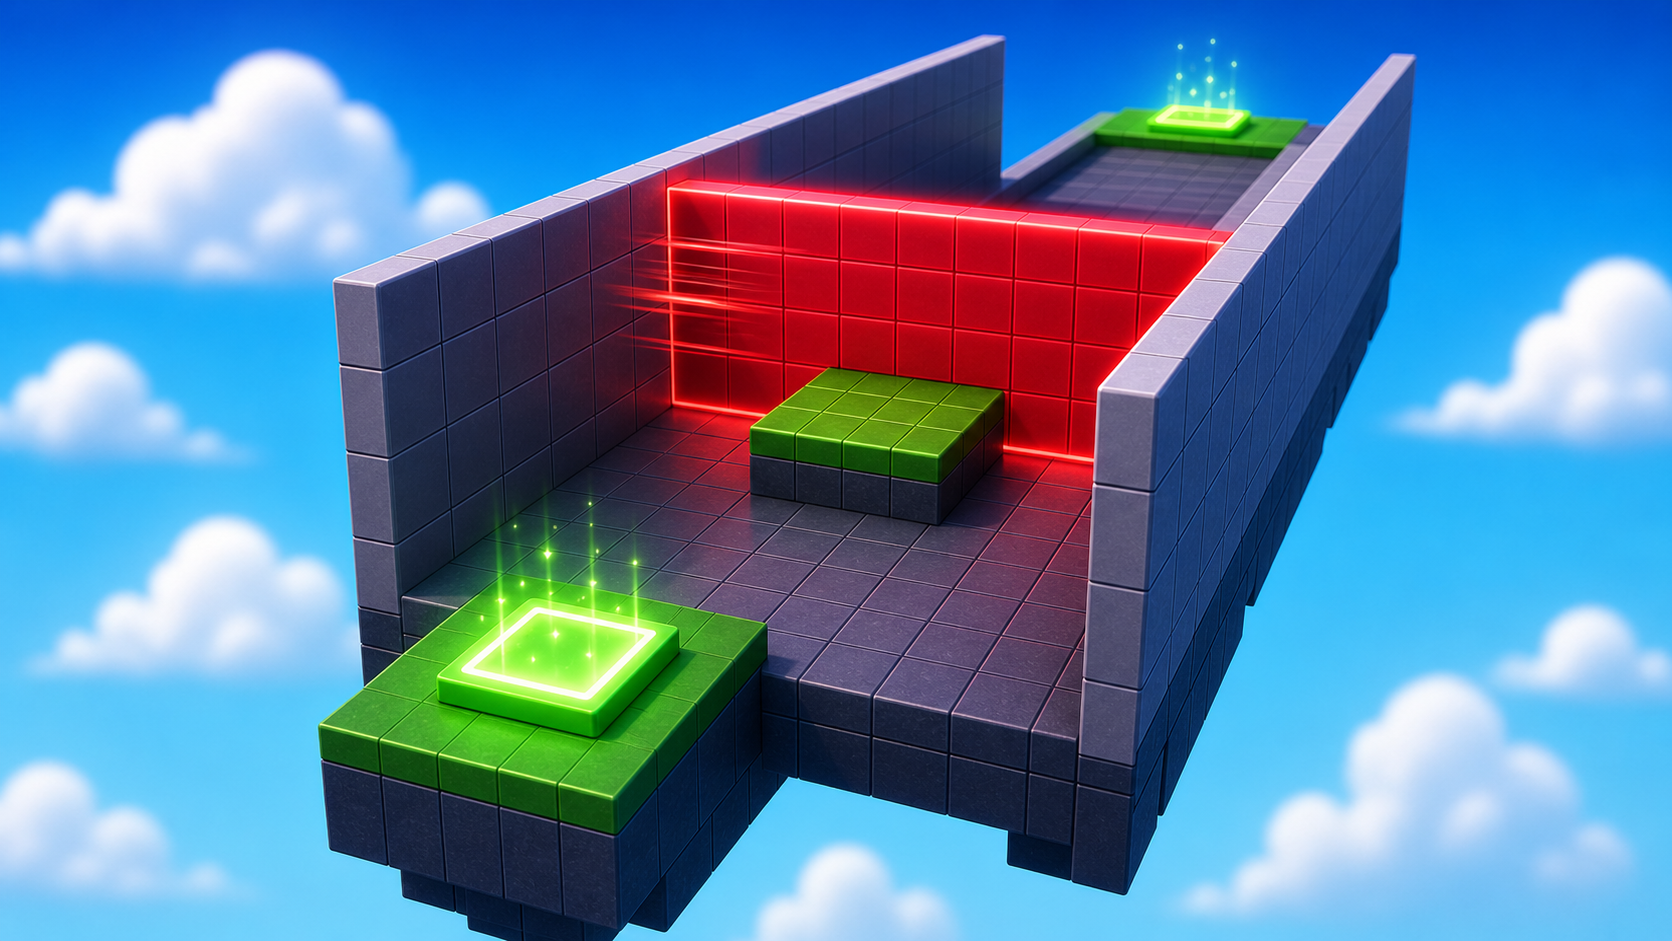
an enclosed hallway with two open doorways and a wall that slides end-to-end through it
numeric `for` loops, parameterizing geometry in code, and reversing motion when bounds are reached
the tenth checkpoint and a script that reads the hallway's actual size to drive the wall's animation
The big idea
Every previous hazard either spun in place, shot from a fixed source, or stayed still.
Today's hazard moves through the play area. A wall slides from one end of a hallway to the other, then back.
The hallway has side walls, so the player cannot sidestep. There is one strategy: time the sprint.
The scripting lesson is the numeric for loop. It counts through a range: start, start + step, start + step again, until it reaches the end.
The trick is that we parameterize the range. Instead of hardcoding "slide 30 studs," we read the hallway's actual Size.
The design lesson is walls do design work. The side walls force the player into the challenge.
- numeric for
- Lua's for loop with `i = start, end, step` — perfect for animation along a range
- parameterize
- instead of hardcoding a number, read it from data or geometry so the code adapts
- Size
- a Vector3 property on every Part — X is width, Y is height, Z is depth/length
- scope
- where a variable is visible — `local` variables only exist inside the block they're declared in
- hardcoding
- writing a literal number in code instead of computing it from data — fragile but quick
Build it
Step 1 — Build the hallway
A floor, two side walls, and open doorways at the ends. The walls enclose the play area so the wall hazard is unavoidable.
Build this partHallFloor
BlockOpen recipe
HallFloor
Block- Size
- 6 × 1 × 30
- Color
- Dark stone grey
- Material
- Concrete
- Anchored
- ✓ Yes
- Place
- Starting at the Stage 9 Pink pad, stretching forward 30 studs
6 studs wide. The Z size (30) is critical — the script reads it to know how far the wall should slide.
Build this partHallWall_Left
BlockOpen recipe
HallWall_Left
Block- Size
- 1 × 8 × 30
- Color
- Brick yellow
- Material
- Brick
- Anchored
- ✓ Yes
- Place
- Along the left edge of HallFloor, 8 studs tall
Tall enough that the player can't jump over.
Build this partHallWall_Right
BlockOpen recipe
HallWall_Right
Block- Size
- 1 × 8 × 30
- Color
- Brick yellow
- Material
- Brick
- Anchored
- ✓ Yes
- Place
- Along the right edge of HallFloor, mirroring the left wall
The two ends are open — no part there — which is what makes them doorways. Players enter from the Pink pad end and exit at the other.
Step 2 — Build the sliding wall
A solid red wall that fits inside the hallway. We'll script it to slide end-to-end.
Build this partSlidingWall
BlockOpen recipe
SlidingWall
Block- Size
- 5.5 × 7 × 1
- Color
- Really red
- Material
- Neon
- Anchored
- ✓ Yes
- Place
- Inside the hallway at one end, snug between the side walls. X (5.5) just barely fits between the side walls. Y (7) is tall but doesn't reach the ceiling. Z (1) is the wall's thickness.
Position it at the FAR end of the hallway (away from the Pink pad). The script will slide it toward the Pink pad and back.
Step 3 — Add the tenth checkpoint
Build this partSpawnLocation (Stage 10 — past the hallway)
BlockOpen recipe
SpawnLocation (Stage 10 — past the hallway)
Block- Size
- 6 × 1 × 6
- Color
- Bright orange
- Material
- Plastic
- Anchored
- ✓ Yes
- Place
- At the far end of HallFloor, past the doorway
Also: check AllowTeamChangeOnTouch. Uncheck Neutral. Set TeamColor to Bright orange. In Teams, insert a Team named 'Stage 10', uncheck AutoAssignable, set its TeamColor to match.
Step 4 — Write the sliding-wall script
Right-click SlidingWall → Insert Object → Script. We'll build it in three passes.
Pass 1 — The kill handler (same Touched + Humanoid pattern)
local wall = script.Parent

wall.Touched:Connect(function(otherPart)
  local character = otherPart.Parent
  local humanoid = character:FindFirstChildOfClass("Humanoid")
  if humanoid then
    humanoid.Health = 0
  end
end)
Press Play. The wall sits there. Touch it — you die. Good. Stop.
Pass 2 — Read the hallway length from HallFloor's Size
This is the parameterized-geometry trick.
Instead of hardcoding "slide 30 studs," read HallFloor's Z size. If the hallway length changes, the script adapts.
local wall = script.Parent
local floor = workspace:WaitForChild("HallFloor")

local hallLength = floor.Size.Z
local startZ = wall.Position.Z
local endZ = startZ - hallLength + wall.Size.Z

print("Hall length:", hallLength)
print("Wall will slide from Z =", startZ, "to Z =", endZ)

wall.Touched:Connect(function(otherPart)
  local character = otherPart.Parent
  local humanoid = character:FindFirstChildOfClass("Humanoid")
  if humanoid then
    humanoid.Health = 0
  end
end)
Press Play. The wall still does not move, but Output prints the start and end Z positions.
Stop and read those values. They should be 30 studs apart, minus the wall's thickness. That proves the script read the hallway geometry.
Pass 3 — The numeric for loop slides the wall end-to-end, then reverses forever
Add a while true do that wraps two numeric for loops — one for sliding forward, one for sliding back.
local wall = script.Parent
local floor = workspace:WaitForChild("HallFloor")

local hallLength = floor.Size.Z
local startZ = wall.Position.Z
local endZ = startZ - hallLength + wall.Size.Z
local speed = 0.3  -- studs per step

wall.Touched:Connect(function(otherPart)
  local character = otherPart.Parent
  local humanoid = character:FindFirstChildOfClass("Humanoid")
  if humanoid then
    humanoid.Health = 0
  end
end)

while true do
  -- Slide from startZ to endZ
  for z = startZ, endZ, -speed do
    wall.Position = Vector3.new(wall.Position.X, wall.Position.Y, z)
    wait(0.02)
  end

  -- Slide back from endZ to startZ
  for z = endZ, startZ, speed do
    wall.Position = Vector3.new(wall.Position.X, wall.Position.Y, z)
    wait(0.02)
  end
end
Press Play. The wall slides to one end, reverses, and repeats forever.
Step into the hallway and time your sprint.
Understand it
The numeric for loop in Lua is for i = start, end, step do ... end.
It runs once at start, then adds step, then adds step again. It stops when the next value would pass end.
Step can be negative. for z = startZ, endZ, -speed do counts down.
The first loop slides forward. The second slides back. Wrapping both in while true do repeats the motion forever.
Parameterized geometry is the real lesson. Compare these two lines:
-- Hardcoded — fragile
local endZ = startZ - 30 + 1

-- Parameterized — adapts to changes
local endZ = startZ - floor.Size.Z + wall.Size.Z
The parameterized version reads HallFloor's size at runtime.
If you double the hallway length to 60 studs, you do not change the script. The script reads the new length and adapts.
The wall.Size.Z part keeps the wall from sliding one wall-thickness too far.
workspace:WaitForChild("HallFloor") is a safer way to find a named part.
If HallFloor is missing or misspelled, Output gives you a clearer clue about what broke.
How this script turns hallway size into wall motion
This script is about avoiding magic numbers. It reads the hallway floor's size, calculates how far the wall should travel, then uses two counting loops to move out and back.
local wall = script.Parent
local floor = workspace:WaitForChild("HallFloor")

local hallLength = floor.Size.Z
local startZ = wall.Position.Z
local endZ = startZ - hallLength + wall.Size.Z
local speed = 0.3

wall.Touched:Connect(function(otherPart)
  local character = otherPart.Parent
  local humanoid = character:FindFirstChildOfClass("Humanoid")
  if humanoid then
    humanoid.Health = 0
  end
end)

while true do
  for z = startZ, endZ, -speed do
    wall.Position = Vector3.new(wall.Position.X, wall.Position.Y, z)
    wait(0.02)
  end

  for z = endZ, startZ, speed do
    wall.Position = Vector3.new(wall.Position.X, wall.Position.Y, z)
    wait(0.02)
  end
end
Lines 1–2Find the moving wall and the measuring part.
`wall` is the SlidingWall part. `HallFloor` is not moving; it is used like a ruler so the script can learn how long the hallway is.
Lines 4–7Calculate the start, end, and step size.
`hallLength` comes from the floor's actual Z size. `startZ` is the wall's current position. `endZ` uses the hallway length and wall thickness so the wall stops at the far doorway instead of overshooting.
Lines 9–15Make the wall dangerous before it moves.
This familiar touch handler is connected before the infinite loop. That means the wall is already a hazard when the motion starts.
Line 17Repeat one full round trip forever.
The `while true do` wraps both for loops. One trip forward plus one trip back equals one full cycle, then Roblox repeats the cycle.
Lines 18–21Count from the start position to the end position.
`for z = startZ, endZ, -speed` makes `z` move a little lower each step. Each step writes a new wall Position using the same X and Y but the current Z.
Lines 23–26Count back to where the wall began.
The second loop is the mirror image: count from `endZ` back to `startZ` with a positive step. Without this loop, the wall would not return for the next sweep.
Try this
Try this
Three short experiments. Predict before you run, then test your guess.
Change speed = 0.3 to speed = 1.0. Predict what happens to the wall's motion. Does the player still have time to dash across? Predict before testing.
Remove HallWall_Left and HallWall_Right entirely. Play the stage. Can you avoid the sliding wall now? What does this tell you about the purpose of the side walls?
The pattern endZ = startZ - floor.Size.Z + wall.Size.Z parameterizes the wall's range based on the hallway's geometry. Stage 5's fireballs used barrel.CFrame.LookVector to parameterize fireball direction. Why is reading a part's properties at runtime usually better than typing literal numbers?
Test your stage
- SlidingWall slides smoothly from one end of the hallway to the other and back, on a loop.
- Touching the wall kills you; you respawn on the Pink pad.
- The side walls are tall enough that you can't jump over them.
- You can time your sprint through the hallway when the wall is at the far end.
- Output prints "Hall length: 30" (or whatever your HallFloor Z size is) at the start of every Play.
- Design check. Stand at the Pink pad. Time how long it takes the wall to clear the doorway before turning back. That's your window. If it's less than 1.5 seconds, lower
speedto 0.2 to give the player a fair shot.
If it breaks
- The wall slides only one direction and stops at the end. You forgot the second
forloop. The single-direction motion finishes (the for loop exits), then control returns towhile true do, which restarts the first for loop — and since the wall is already at endZ, it does nothing. Add the second loop to slide back. - The wall jumps from one end to the other instantly. Probably the
wait(0.02)is missing inside the for loop. Without it, all iterations run on the same frame and you only see the final position. attempt to index nil with 'Size'error. WaitForChild couldn't find HallFloor. Check the floor's name in Explorer — it must be exactlyHallFloor(case-sensitive).- The wall slides past the doorway and into the void. The
+ wall.Size.Zcorrection is missing. Re-check line 6. - The wall pushes me along instead of killing me. The Touched handler isn't connected — re-check that
:Connect(not.Connect) is used. Or the wall is moving so fast the player gets pushed before the Touched event fires. - The hallway looks fine but my character walks through the side walls. CanCollide is off on the side walls. Click each side wall, check Properties → CanCollide.
The parameterized-geometry concept is the deepest lesson in this stage. Most campers will accept that reading floor.Size.Z "just works." Push them: ask what would happen if you hardcoded 30 instead, then changed the floor to length 50. (Answer: the wall would only slide 30 studs and stop in the middle of the hallway — a broken stage.)
- Numeric for loops with negative steps confuse some campers. Demonstrate with a simple example:
for i = 10, 1, -1 do print(i) endprints 10 down to 1. Same idea, just bigger numbers and smaller steps. - The Wait(0.02) inside the loop is critical and easy to forget. Without it, the for loop runs all 100 iterations on the same frame and the wall just teleports. The pattern "every for loop that does animation needs a wait inside" is worth saying out loud.
- A common mistake: campers try to use TweenService here. Acknowledge it would work — but the numeric for loop teaches the underlying math of animation, which TweenService hides. Both have their place.
- 55 minutes: 15 build, 25 script, 15 testing variations.