Stage 3: Plank Walkway
Finish Stage 2: Sphere Staircase first. Your obby now has a third checkpoint (green) at the top of the sphere climb, and you've written your first Touched listener.
a narrow plank walkway with a rest-stop midpoint, plus a plank that flickers between walkable and pass-through
how `CanCollide` controls whether parts block the player, and how a `while` loop with `wait()` creates rhythm
the fourth checkpoint and a script that toggles a property on a 2-second cycle
The big idea
Stages 1 and 2 asked the player to jump up. Stage 3 asks them to walk across.
Narrowing the path is the simplest difficulty knob in the course. Same shape, same color, just thinner, and suddenly the player thinks about every step.
The scripting lesson is that a part property can be flipped over time.
CanCollide = true means the plank blocks the player. CanCollide = false means the plank looks present, but the player falls through.
A short while loop with wait() can flip that property every few seconds. One plank becomes a sometimes-there hazard.
- CanCollide
- a boolean property — when true, the part blocks other parts; when false, things pass through it
- Transparency
- 0 means fully opaque, 1 means invisible; useful for hinting that a part is in flux
- while true do
- a Lua loop that runs forever; needs a `wait()` inside or it freezes the game
- wait(seconds)
- pauses the script for that many seconds; lets other scripts and the game keep running
- boolean
- a true/false value; CanCollide and Anchored are both booleans
Build it
Step 1 — Build the planks and the rest stop
Three thin planks end-to-end, with a wider rest-stop block in the middle. The plank length is the difficulty — long planks force longer concentration runs.
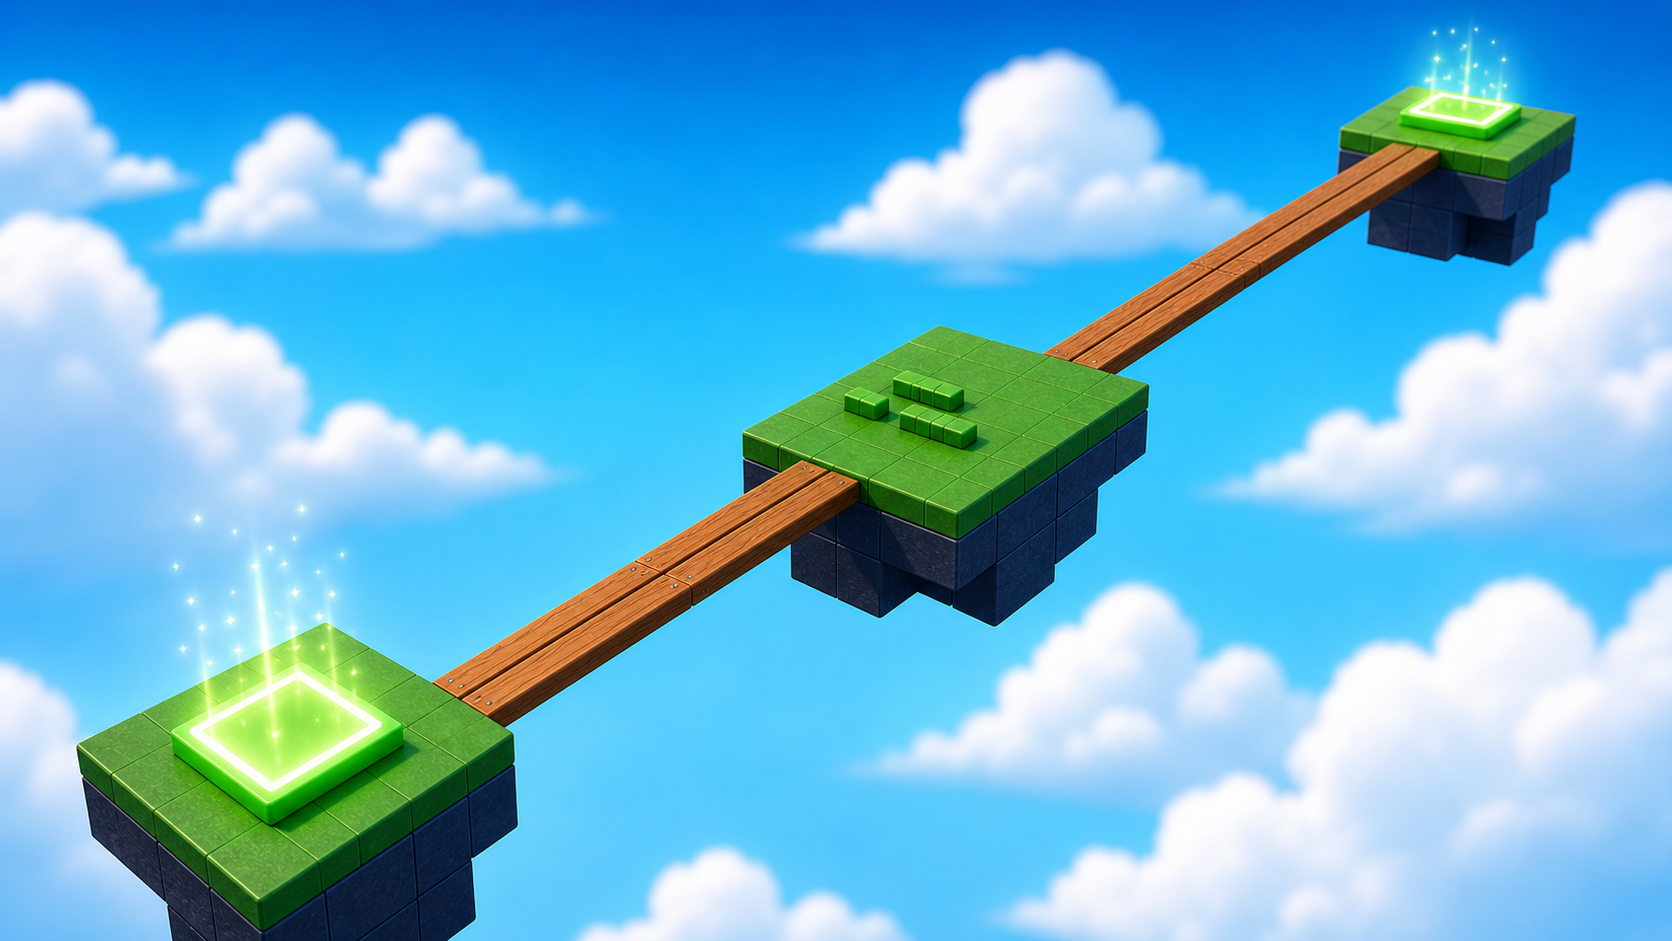
Build the four parts and tune each to match these recipes.
Build this partPlank_1
BlockOpen recipe
Plank_1
Block- Size
- 2 × 1 × 21
- Color
- Reddish brown
- Material
- Wood
- Anchored
- ✓ Yes
- Place
- Starting at the Stage 3 green pad, stretching forward
The middle Size number is the plank's thickness (1 stud). The third (21) is its length.
Build this partRestStop
BlockOpen recipe
RestStop
Block- Size
- 13 × 1 × 6
- Color
- Brick yellow
- Material
- Wood
- Anchored
- ✓ Yes
- Place
- At the far end of Plank_1, wider than the plank itself
Wider on purpose — the rest stop is a visual relief moment. Players exhale here.
Build this partPlank_2
BlockOpen recipe
Plank_2
Block- Size
- 2 × 1 × 21
- Color
- Reddish brown
- Material
- Wood
- Anchored
- ✓ Yes
- Place
- On the far side of RestStop, continuing the path
Build this partPlank_3
BlockOpen recipe
Plank_3
Block- Size
- 2 × 1 × 21
- Color
- Reddish brown
- Material
- Wood
- Anchored
- ✓ Yes
- Place
- End-to-end with Plank_2
Press ▶ Play. Walk the planks.
If your character falls off the side, the camera is fine. That is how narrow walks feel. There is no easy recovery from a misstep.
Step 2 — Add the fourth checkpoint
Standard pattern, fourth time.
Build this partSpawnLocation (Stage 4 — end of plank walkway)
BlockOpen recipe
SpawnLocation (Stage 4 — end of plank walkway)
Block- Size
- 6 × 1 × 6
- Color
- Bright yellow
- Material
- Plastic
- Anchored
- ✓ Yes
- Place
- At the end of Plank_3
Also: check AllowTeamChangeOnTouch. Uncheck Neutral. Set TeamColor to Bright yellow. In Teams, insert a Team named 'Stage 4', uncheck AutoAssignable, set its TeamColor to Bright yellow.
Step 3 — Write the CanCollide flicker script
Pick one plank. Plank_2 is a good choice because it is in the middle.
The script will toggle CanCollide and Transparency every 2 seconds.
In Explorer, right-click Plank_2 → Insert Object → Script. Open the editor. Delete the placeholder line.
Pass 1 — Get the plank and confirm the script runs
local plank = script.Parent
print("Flicker plank ready:", plank.Name)
Press Play. Output should show "Flicker plank ready: Plank_2". Stop.
Pass 2 — The loop with a print, no behavior yet
local plank = script.Parent
print("Flicker plank ready:", plank.Name)

while true do
  print("Tick")
  wait(2)
end
Press Play. Watch Output.
"Tick" appears every 2 seconds. That is your timing skeleton. Stop.
Warning: a while true do with no wait() can freeze Roblox. The wait(2) keeps the game responsive.
Pass 3 — Replace the print with a flicker
local plank = script.Parent
print("Flicker plank ready:", plank.Name)

while true do
  plank.CanCollide = false
  plank.Transparency = 0.6
  wait(2)
  plank.CanCollide = true
  plank.Transparency = 0
  wait(2)
end
Press Play. Plank_2 fades out, becomes pass-through, then comes back. Walk onto it during the solid phase, then during the faded phase — you fall through. Pure timing.
Understand it
The CanCollide flip works because two values change together.
Collision controls what the player feels. Transparency controls what the player sees.
If the plank looked solid but dropped the player, it would feel unfair. If it looked ghostly but stayed solid, it would feel confusing.
Fairness is when what the player sees and what the player feels match.
The while true do ... wait(2) ... end structure is the rhythm pattern. Flip to danger, wait, flip to safe, wait.
The two wait(2) calls make a 4-second cycle. Smaller waits make the plank harder. Bigger waits make it easier.
The wait() is non-negotiable. Every while true do loop in Roblox needs a wait() or another yielding call inside it.
How this script creates a timing rhythm
The script has one job: repeat two states forever. First the plank becomes unsafe and faded, then it becomes solid and visible again.
local plank = script.Parent
print("Flicker plank ready:", plank.Name)

while true do
  plank.CanCollide = false
  plank.Transparency = 0.6
  wait(2)
  plank.CanCollide = true
  plank.Transparency = 0
  wait(2)
end
Lines 1–2Find the plank and prove the script started.
`script.Parent` is Plank_2. The print line proves the script ran before you debug the loop.
Line 4Start the repeating rhythm.
`while true do` repeats the indented lines until Play stops. The `wait` lines keep Studio from freezing.
Lines 5–6State 1: faded means unsafe.
`CanCollide = false` makes players fall through. `Transparency = 0.6` shows them the plank is unsafe.
Line 7Hold that unsafe state long enough to notice.
`wait(2)` pauses only this script. The player can still move while the plank stays faded.
Lines 8–9State 2: visible means safe again.
The two properties flip back. The plank looks solid and acts solid again.
Line 10Hold the safe state, then repeat.
After this wait, Roblox jumps back to line 5. The pattern repeats: unsafe, safe, unsafe, safe.
Try this
Try this
Three short experiments. Predict before you run, then test your guess.
Comment out the wait(2) on line 7 (put -- before it). Press Play. Predict what happens to the plank's flicker rhythm. Predict what happens to your game's framerate.
Change both wait(2) calls to wait(0.3). Then change both to wait(5). Walk the plank in both configurations. Which feels like a fair timing challenge and which feels like luck or boredom? Why?
Look at the structure: while true do → change property → wait → change property back → wait → end. Stage 7 uses TweenService instead. Stage 8 uses RunService.Heartbeat. Why might Roblox developers prefer those over a while … wait loop for, say, a 60 fps spinner?
Test your stage
- Walk Plank_1, RestStop, Plank_2 (during its solid phase), and Plank_3 to reach the yellow pad.
- Stand on Plank_2 and wait. Within 4 seconds it goes pass-through and you fall.
- Reset character. Confirm you respawn on the yellow pad.
- Output shows "Flicker plank ready: Plank_2" at start of every Play.
- Design check. Is the visual cue (Transparency 0.6) obvious enough for a brand-new player to read "this plank is currently dangerous"? If not, raise it to 0.8 or change the plank's BrickColor briefly during the pass-through phase.
If it breaks
- The plank never flickers. Three things in order: (1) Is the Script inside Plank_2 in Explorer? (2) Did you press Play, not Stop? (3) Open the Output — if you see a red
attempt to index nilerror,script.Parentis probably the wrong part. The Script must be a direct child of the plank, not nested deeper. - The plank flickers but my character doesn't fall through. CanCollide is still true. Re-check the code: line 5 must be
plank.CanCollide = falseexactly. A typo likeCanColide(one L) will silently fail because Lua doesn't know that property. - My game freezes when I press Play. You removed a
wait()from inside the loop. Find thewhile true doand make sure there's at least onewait()betweendoandend. Press Esc and let Studio recover. - The plank stays invisible permanently. The script must have crashed mid-loop. Open the Output and read the error message — it'll tell you which line. Common cause: the plank was deleted or renamed mid-game.
Stage 3 is the first stage where a forgotten wait() will crash Studio. Tell the room about this before they start typing — once a camper crashes Studio, recovering takes 5 minutes and rattles them. The rule: every while true do needs at least one wait() inside.
- The
Transparency = 0.6value is a tuning choice. If a camper changes it to 0.95, the plank looks gone and the stage feels unfair. If they set it to 0.1, the visual change is too subtle. 0.6 is the readable middle. - Some campers will hard-code "Plank_2" by typing
workspace.Plank_2instead of usingscript.Parent. Both work butscript.Parentis the better habit — it makes the script portable to any plank. - The "Tick" pass (Pass 2) is the conceptual bridge — it proves the loop is running before adding the actual behavior. Don't let campers skip it.