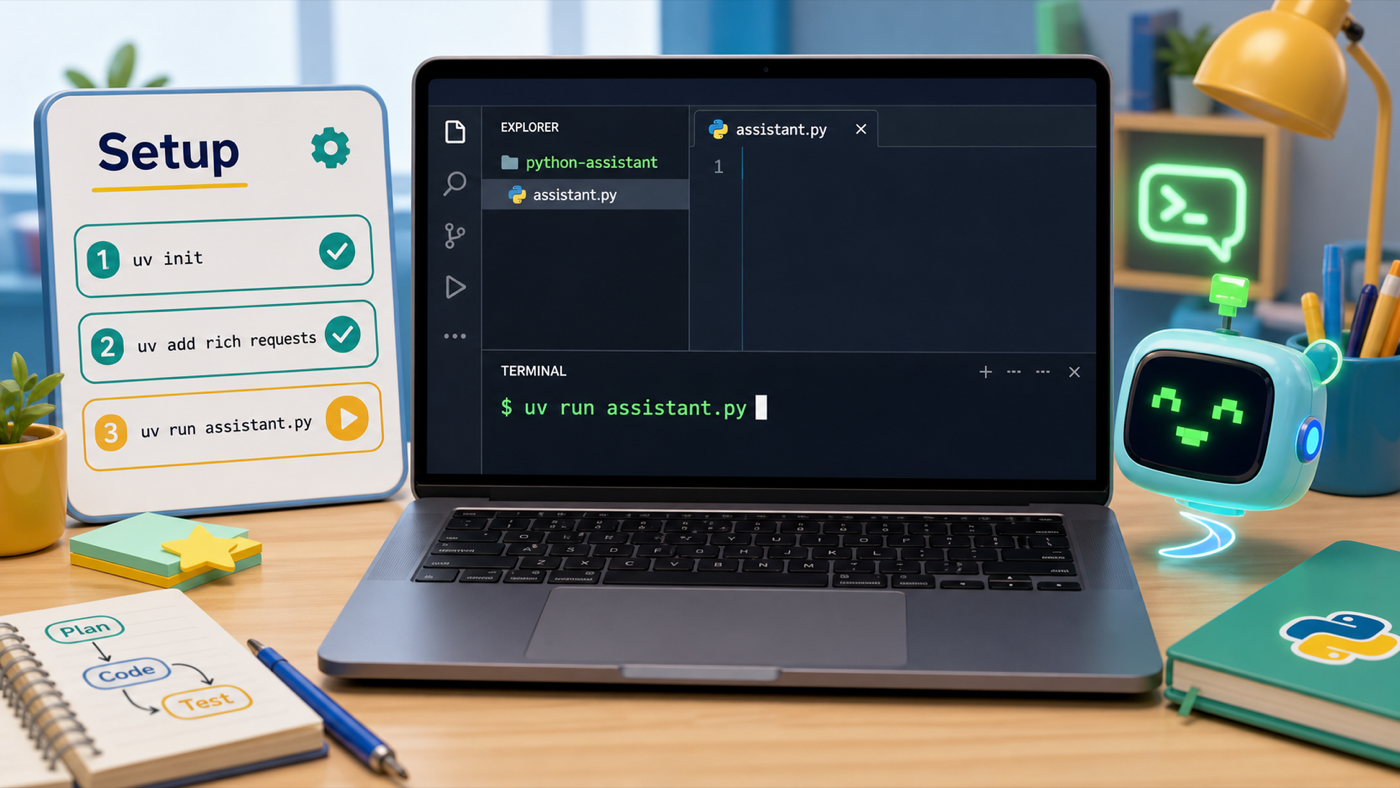
Setup
This course is different from a website coding game. This week your code lives on the Mac in front of you, not in a browser tab. You'll open a real code editor, run real commands, and by the end of this page your Mac will talk out loud. That's exactly how real programmers work — and it's the same setup you'd use to build almost anything in Python.
We use three tools:
- VS Code — the editor where you write your program.
- Python — the language your assistant is written in.
- uv — a helper that builds a private toolbox for this project and installs the extra parts we need (
richandrequests).
Setup takes about 20 minutes the first time. After today, you just open VS Code and keep going.
Before campers touch a keyboard, run one finished uv run assistant.py on the room's screen so everyone hears a Mac talk. That spoken "Hello! I'm alive." is the goal — campers code toward a sound they've already heard.
Step 1 — Open VS Code on your project folder
Open VS Code from the Dock or Launchpad. Then choose File → Open Folder… and open the camp folder your Code Coach set up for you (something like python-assistant). Opening the folder — not just a file — is what lets VS Code and uv work together.
Don't try to install anything yourself. Raise your hand — your Code Coach has VS Code, Python, and uv ready on each Mac.
Step 2 — Open the built-in terminal
In VS Code, choose Terminal → New Terminal. A panel opens at the bottom of the window. This is where you'll talk to the Mac by typing commands. You'll see a prompt — a line ending in % or $ waiting for you to type.
The terminal is already pointed at your project folder, so everything you type happens in the right place.
Step 3 — Check your tools are ready
Type each line below into the terminal and press Return. Each one should print a version number.
python3 --version
uv --version
You should see something like Python 3.12.2 and uv 0.5.0 (your numbers may be different — any numbers are fine).
That means a tool isn't installed on this Mac. This is a Code Coach job, not yours — raise your hand. Don't try to install it.
Step 4 — Build the project toolbox with uv
Now we set up the project. Type these two lines, one at a time:
uv init
uv add rich requests
What did uv just do?
You typed `uv add rich requests`. In your own words, what do you think uv made for you?
Check your thinking
uv built a private toolbox (a virtual environment) just for this project and put two extra tools inside it — `rich` (for colorful output) and `requests` (for getting things off the internet). Other projects on this Mac can't touch this toolbox, and it can't touch theirs.
uv init creates the project files. uv add rich requests builds a private virtual environment — a toolbox that belongs only to this project — and installs rich and requests into it. We do this now, on day one, while the internet is working, so the tools are ready when we need them later in the week.
uv init may create a sample main.py or hello.py. Ignore it — campers create their own assistant.py in the next step. If uv add fails, it's almost always the network; confirm the lab is online before debugging anything else.
Step 5 — Write your first assistant.py
In VS Code's file list, make a new file called assistant.py (File → New File, then save it as assistant.py in the project folder). Type this in:
Type the speak helper
Type it yourself instead of pasting. Say each line out loud as you go — import, def speak, print, then subprocess.run. You'll reuse this speak() function in every single stage, so it's worth knowing by heart.
Need a hint?
`subprocess` is a built-in tool that lets Python run other programs — here, the Mac's own `say` voice. The function prints the text first, then says it out loud.
assistant.py
Where it goes: This is the whole file for now. Type it from the top.
The speak() helper is the heart of the whole course. Every later skill will call it.
import subprocess


def speak(text):
    print(text)
    subprocess.run(["say", text])


speak("Hello! I'm alive.")
A quick tour of what you wrote:
import subprocessbrings in a built-in tool that can run other programs.def speak(text):makes a reusable skill calledspeakthat takes some words.print(text)shows the words in the terminal.subprocess.run(["say", text])hands the words to the Mac's built-insayvoice. We pass the words as a list —["say", text]— so even tricky words with apostrophes like"I'm"work safely.
Step 6 — Run it and hear it talk
Back in the terminal, type:
uv run assistant.py
Your Mac just talked. That's your assistant waking up for the very first time. 🎉
Always start your program with uv run (not plain python assistant.py). The uv run part is what hands your program the project toolbox — later, when you use rich and requests, uv run is what makes them work.
Check the Mac's volume first, before you blame the code — turn it up and unmute it, and unplug any headphones. If the words printed in the terminal but didn't speak, the program is fine; it's almost always the volume. We'll keep this "check the volume first" habit all week.
Setup check
- VS Code is open on your project folder (not just one file).
- The terminal is open and
uv --versionprinted a number. -
uv add rich requestsfinished without an error. -
uv run assistant.pymade the Mac say "Hello! I'm alive." out loud.