Stage 1: Ascending Walls
Prerequisites: Before You Dive In!
Before diving into the excitement of Stage 1, make sure you've completed these fun and essential steps!
1. Intro
Did you enjoy the epic introduction to Roblox Part 2: Launch Your Own Obby Game in VR? We hope you're pumped up and ready to embark on this coding adventure in virtual reality!
2. Setup
Time to gear up! You've gone through the setup phase, getting everything ready for your Obby journey in VR. From setting up your workspace to getting familiar with the tools, you're all set to unleash your creativity!
Now, let's dive into Stage 1 and start building your very own Obby masterpiecethat will transport players to new dimensions! Are you ready to enter the virtual realm and make coding magic happen? Let's do this! 🎉
Objective 🧐🗿
Welcome to the first stage of our thrilling Obby adventure! Get ready to climb to new heights and conquer the Ascending Walls in a virtual world of wonder!
Step 1 - Create the First Checkpoint 🚩
Let's kick things off by setting up our first checkpoint! It's like planting a flag in the virtual ground, marking the start of our epic journey!
1.1 Select the SpawnLocation
Find the SpawnLocation and get ready to customize.
1.2 Customize Properties
Here's where the magic happens!
- Choose a color that screams "awesome" to you.
- Tick the box for AllowTeamChangeOnTouch (because who doesn't love changing things up?).
- Uncheck Neutral to make it clear whose team you're on.
- And finally, set the TeamColor to match your SpawnLocation color for that perfect coordination!
1.3 Team Building
Head over to the Explorer tab and add a Team in the Teams folder.
- Let's give it a name that suits its importance - "Stage 1".
- And don't forget to match the TeamColor to your SpawnLocation for that extra style point - and get ready to conquer the virtual landscape together!
Step 2 - Creating the Staircase 📐🏃
Hey there, young VR explorers! Are you ready to embark on a thrilling Obby adventure and climb to new heights in Roblox Studio's virtual reality world? Let's make coding magic happen together and create an epic staircase to success!

1.1 Get Your Building Blocks Ready
Choose your favorite Color and Material to bring your virtual staircase to life! The virtual stage is set for your creativity to shine.
1.2 Customize Your Blocks
Add a splash of color and personality to your blocks! Remember, this is your virtual staircase to success, so make it pop with excitement!
1.3 Size Matters
Let's make this climb a breeze. Adjust the sizes of your blocks to fit the challenge perfectly:
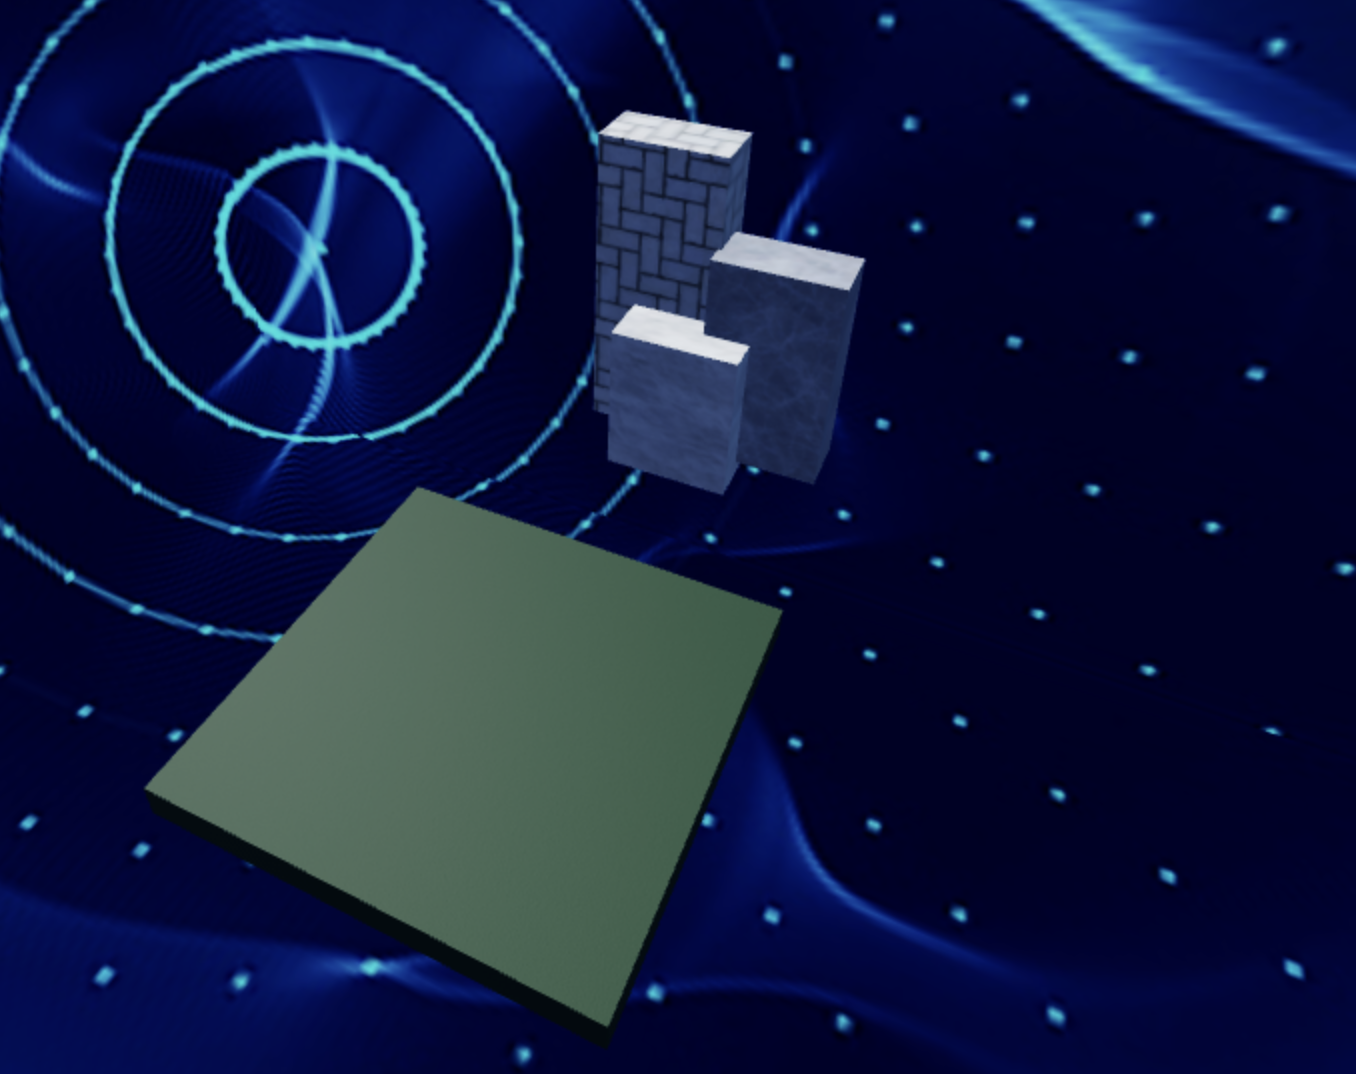
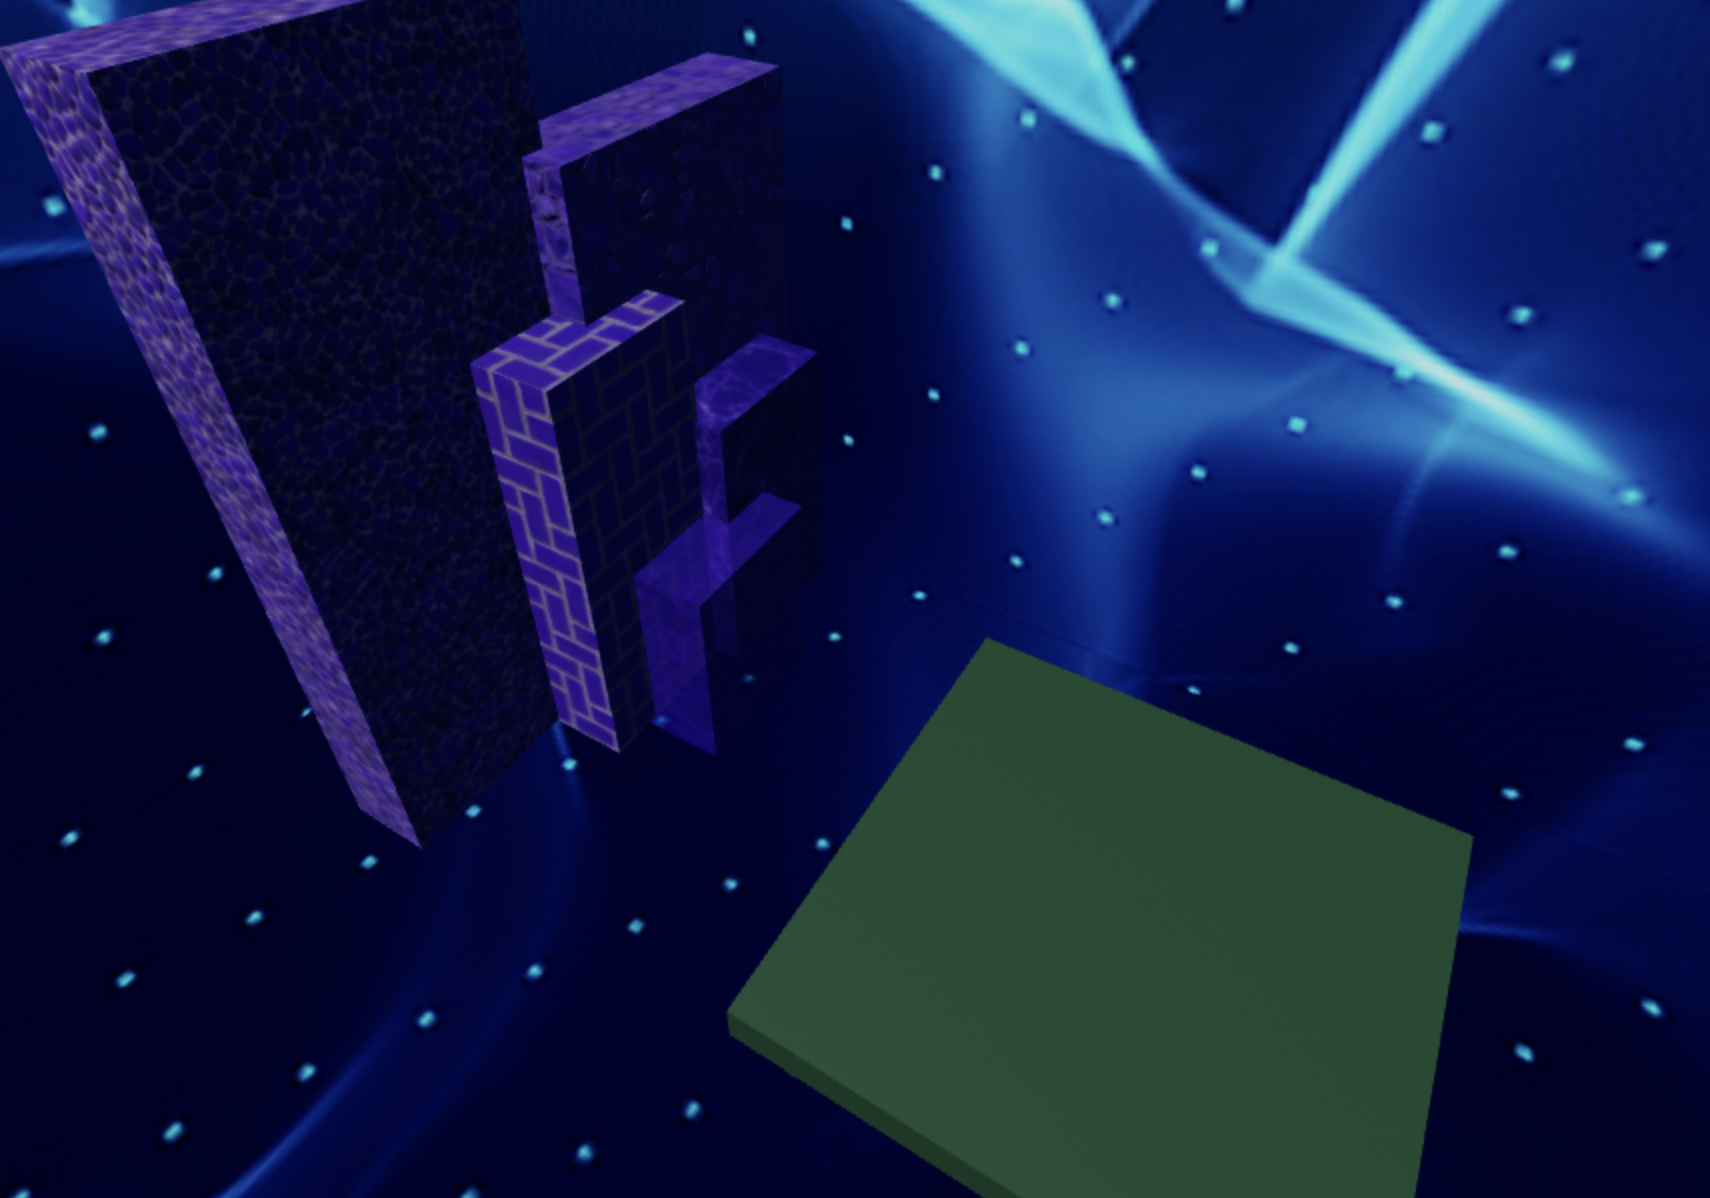
- Block 1: Make it [4, 5, 2]. It's like taking a small step towards virtual greatness!
- Block 2: Extend it to [4, 7, 2]. We're reaching new virtual heights now!
- Block 3: Stretch it even further to [4, 10, 2]. You're climbing like a virtual pro!
4. Build Your Stairway
Arrange your blocks with care, creating a virtual staircase that's as easy as pie to ascend. Each step is a virtual victory waiting to happen!
And hey, if you ever feel stuck or just want to show off your awesome virtual progress, don't forget about your friendly Code Coach! They're here to lend a hand, offer guidance, and celebrate your coding triumphs with you in the virtual world!
So, let's climb together towards coding greatness, one block at a time, and explore the infinite possibilities of Roblox Studio's virtual reality world! Your adventure awaits! 🚀🌟
Medium: Paint your walls with your favorite colors and patterns.

Now, let's dive into the heart of this stage - our thrilling virtual staircase!
2.1 Gather Your Blocks
Grab those Block Parts and get ready to build!
2.2 Customize Away
Unleash your creativity! Pick your favorite Color and Material for each block and make your virtual staircase pop!
2.3 Assemble the Stairs
Arrange your blocks to form a steep staircase, just waiting for brave adventurers like you to conquer it!
Step 3 - Creating the Second Checkpoint 🚩
But wait, our virtual journey doesn't end here! Let's prepare for what lies ahead in the virtual world.
3.1 Add Another SpawnLocation
Head back to the Workspace and add a new SpawnLocation. It's like setting up camp for the night - a safe haven for weary travelers.
3.2 Customize Properties
Customize this new SpawnLocation just like before:
- Color
- AllowTeamChangeOnTouch
- Neutral... you know the drill!
3.3 Team Building
Don't forget to add another Team in the Teams folder.
- Uncheck AutoAssignable to keep things organized.
- This time for "Stage 2".
- Keep that coordination going with matching TeamColor!
Hard: Brace yourself for moving platforms that will test your VR skills!
If you want more of a challenge by recreating the video yourself, follow these steps:
Hey there, fearless coders! Are you ready to take on the ultimate challenge and show off your coding prowess? Get ready to conquer the Ascending Walls like never before!
Description
We are going to create a script that makes a part in Roblox move up and down between two heights. Here's what we want to accomplish:
Step 1 - Start at a Position:
The part will start at a certain position.
Step 2 - Move Up and Down:
The part will move up to a maximum height, then move down to a minimum height, and keep repeating this movement.
Step 3 - Direction Change:
When the part reaches the maximum height, it will change direction and start moving down. When it reaches the minimum height, it will change direction and start moving up again.
Step 4 - Smooth Movement:
The part will move smoothly, pausing for a short time during each step of movement.
By doing this, the part will continuously move up and down in a loop, creating a nice animation effect.
Instructions and Code Logic
Step 1 - Set Up Starting Variables:
-
Create a variable to hold the part by setting it to the
Parentof the script. -
Make a variable to remember the starting position of the part.
-
Create variables for the highest point (
maxHeight), lowest point (minHeight), and how fast it moves (speed). -
Create a true/false variable (
goingUp) to know if the part is moving up, starting withtrue.
Step 2 - Make an Infinite Loop:
- Use a loop that runs forever. In Lua, this is done with
while true do.
Step 3 - Check the Direction:
- Inside the loop, use an
ifstatement to see if the part is moving up. This is checked using thegoingUpvariable.
Step 4 - Move the Part Up:
-
If
goingUpistrue, change the part's position to move it up. Use a vector to do this. -
Specifically, add to the Y-coordinate by the speed value.
Step 5 - Check Maximum Height:
-
After moving the part up, check if the part's Y-coordinate has reached or gone above the
maxHeight. -
If it has, set
goingUptofalseto start moving down.
Step 6 - Move the Part Down:
-
If
goingUpisfalse, change the part's position to move it down. Use a vector to do this. -
Specifically, subtract from the Y-coordinate by the speed value.
Step 7 - Check Minimum Height:
-
After moving the part down, check if the part's Y-coordinate has reached or gone below the
minHeight. -
If it has, set
goingUptotrueto start moving up again.
Step 8 - Pause the Loop:
- Use the
waitfunction to pause the loop for a short time, like 0.1 seconds, before repeating the loop.
Putting It All Together
-
Start by setting up your starting variables.
-
Create an infinite loop using
while true do. -
Inside the loop, use an
ifstatement to check the direction (goingUp). -
If
goingUpistrue, move the part up by adding to its Y-coordinate using a vector. -
Check if the part's Y position has reached the maximum height. If it has, set
goingUptofalse. -
If
goingUpisfalse, move the part down by subtracting from its Y-coordinate using a vector. -
Check if the part's Y position has reached the minimum height. If it has, set
goingUptotrue. -
Use the
waitfunction to pause the loop for a short time. -
Repeat the loop to keep the part moving up and down.
- Congratulations! You've conquered Stage 1 like a true coding champion! Now, gear up for even more thrilling challenges as we dive into Stage 2! Let the coding adventure continue! 🚀🎉
