Setup
Set up the same Roblox obby foundation used across the course family. This version is a VR-inspired physics lab, but you do not need a headset to build it. Every required stage works on a normal laptop.
The big idea
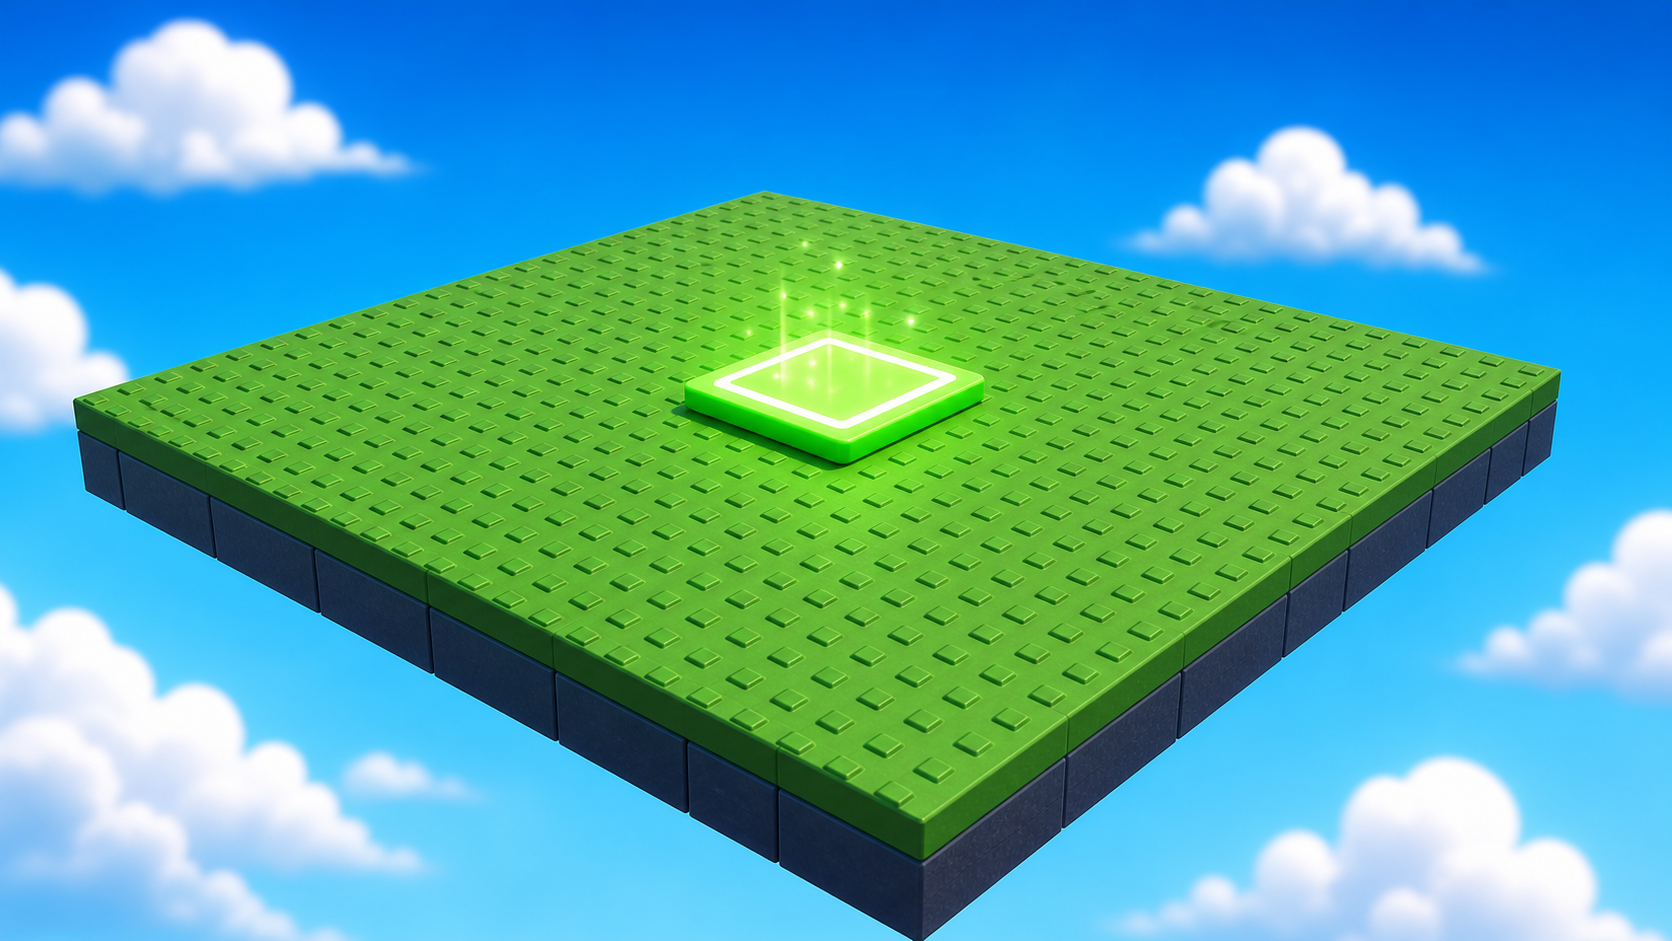
You will build the same familiar shape: a Start Platform, ten obstacle stages, checkpoints, a finish pad, and an ExtensionPad.
The twist is motion. Your obby will jump, float, launch, roll, spin, and slide. A coach may show how some of those moments could feel in VR, but the student path is about small wins you can see right away.
- Explorer
- the panel that lists everything in your game
- Properties
- the panel where you change size, color, material, and names
- Output
- the panel that shows messages and red error text
- Start Platform
- the safe first platform where players spawn
- checkpoint
- a save spot where a player respawns after falling
Build it
Step 1 — Open the Baseplate template
Open Roblox Studio and sign in if it asks.
On the New tab, pick Baseplate.
Step 2 — Delete the Baseplate
Your obby should float in the sky. If the green floor stays, falling will not matter.
- In Explorer, expand Workspace.
- Find Baseplate.
- Right-click it -> Delete.
Step 3 — Build the Start Platform
Every Roblox course in this family starts with the same safe platform.
- In Workspace, click + -> Part.
- Set the part:
- Size ->
[30, 1, 30] - BrickColor -> light grey, sand, or white
- Material -> Smooth Plastic or Concrete
- Anchored -> checked
- Size ->
- Rename the part Lobby.
- Move the SpawnLocation so it sits centered on top of
Lobby.
The part is called Lobby in Explorer so every Roblox course can reuse the same instructions. We will call it the Start Platform when talking to players.
Step 4 — UI Scavenger Hunt
Find these before you build:
- Explorer
- Properties
- Output
- Toolbox
- The big green Play button
- Workspace
- Teams
Press Play once. Your player should spawn on the Start Platform. Stop the game.
Step 5 — Save the project
In Studio's top menu, choose File -> Save As.
Name the file something like My VR Parkour Obby - First Last.
Test your setup
- The Baseplate is deleted.
- There is a Start Platform part named Lobby.
- The SpawnLocation sits on top of
Lobby. - You found Explorer, Properties, Output, Workspace, Teams, and Play.
- You pressed Play and spawned safely.
- Your file is saved.
If it breaks
- I deleted the SpawnLocation. Press Undo. If that fails, right-click Workspace -> Insert Object -> SpawnLocation.
- I cannot find Teams. Right-click the empty Explorer area -> Insert Service -> Teams.
- The Output window is missing. Open View -> Output.
- My player falls forever. Move the SpawnLocation back onto the Start Platform.
Keep this setup calm. The goal is confidence: every student should leave Setup with a saved file and a working Start Platform. Do not introduce VR code here for ages 7-10.